How To Install Solar Panels: 2022 Solar Panel Installation Guide

The world is going solar…why will you be left behind? Solar is the imminent reality as we are all searching for some alternative form of energy to find respite from increasing electricity bills that add to the heat!
You buy Solar? Do you install Solar? You get into trouble!
Installing solar PV cells is not an easy thing to do. It requires quite some understanding, experience, and expertise. So if you think you can manage it easily and all alone…fools paradise beacons you.
You are on the right page if you have zero idea and technical expertise on installing solar panels. This article will discuss the different steps to the solar panel installation process that you could learn and follow.
Solar Panels: Journey of Evolution in a Nutshell
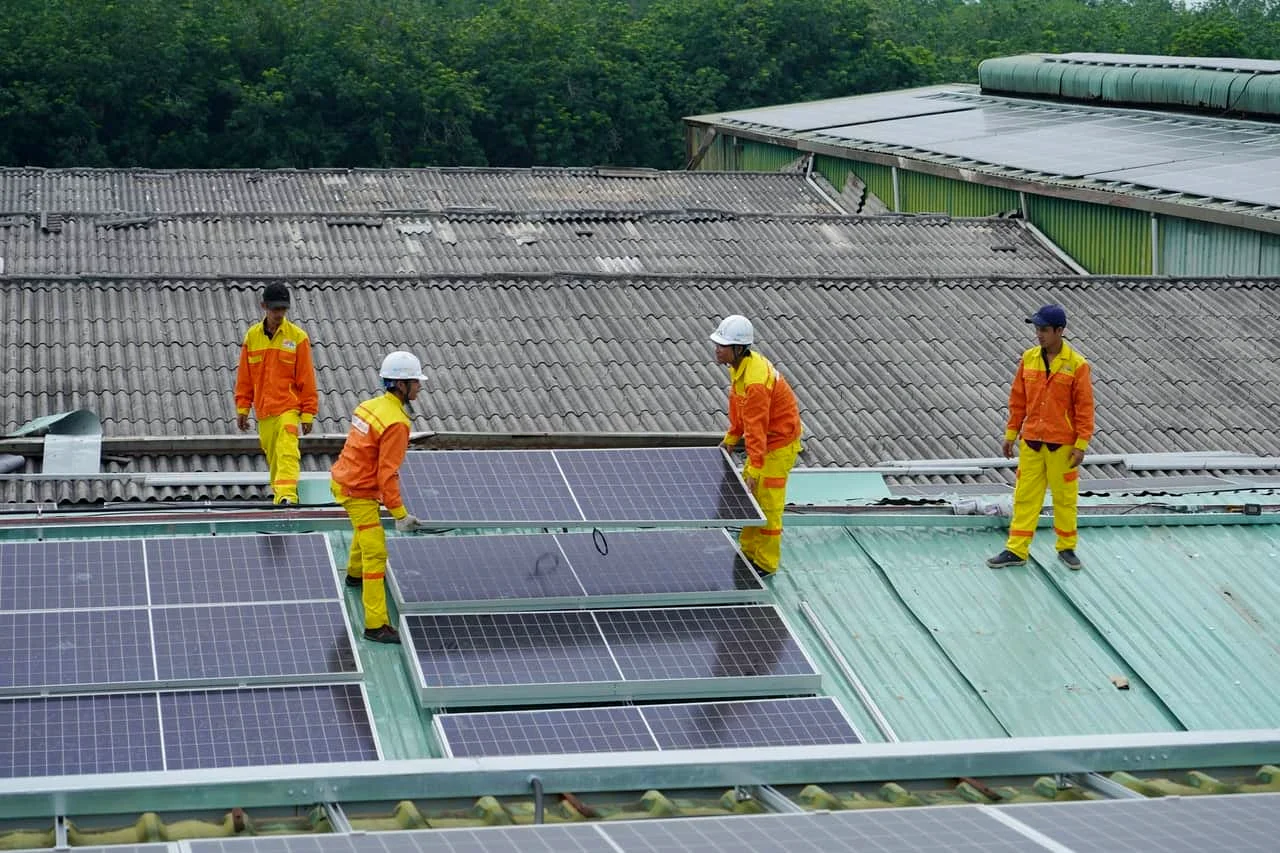
You may have seen some rooftops covered with sheet-like structures. This is because they are Solar PV cells.
Well, the journey of this promising technology dates back more than a century. During our grandpa's salad days, solar energy was used mainly to produce steam to drive machinery.
But Edmond Becquerel, with his path-breaking observation of the photovoltaic effect, initiated the journey of solar PVs. Charles Fritts followed the legacy and his efforts led to the discovery of the first Genuine Solar Cells formed using a coating sheet of selenium with a lean layer of Gold.
After that, in the year 1941, American Inventor Russel Ohl patented the world's first Silicon Solar Cells. Solar Technology is still now going through evolution and development, and we will definitely see more of it.
Types of Solar Panels
What are the different types of solar panels? While most people know what solar panels are and why they are used, many people are unaware of the various types of solar panels. Depending on the types of solar panels, the installation process also changes.
There are four major types of solar installation panels. These are as follows,
1. Monocrystalline
Monocrystalline solar panels are also known as single-crystal panels. Made from one silicon crystal that's pure and cut into several wafers, these panels are identified from their color (dark black, usually).
It is, in fact, the pure silicon that makes these panels perhaps the most efficient space-wise, and that's not all. These are also long-lasting, but there's only one problem. There is one high cost of opting for Monocrystalline panels.
It is the sheer wastage of silicon to even produce a single monocrystalline cell. But, of course, this alone increases the cost of the panel.
2. Polycrystalline
Instead of one silicon crystal, Polycrystalline panels originate from multiple crystals. After obtaining all the silicon crystals, the fragments are simply melted, only to be poured and molded into the trademark square shape of these panels.
Naturally, this makes Polycrystalline panels more cost-efficient, especially from the point of wastage. But at the same time, these are hardly efficient when it comes to space or energy conversion.
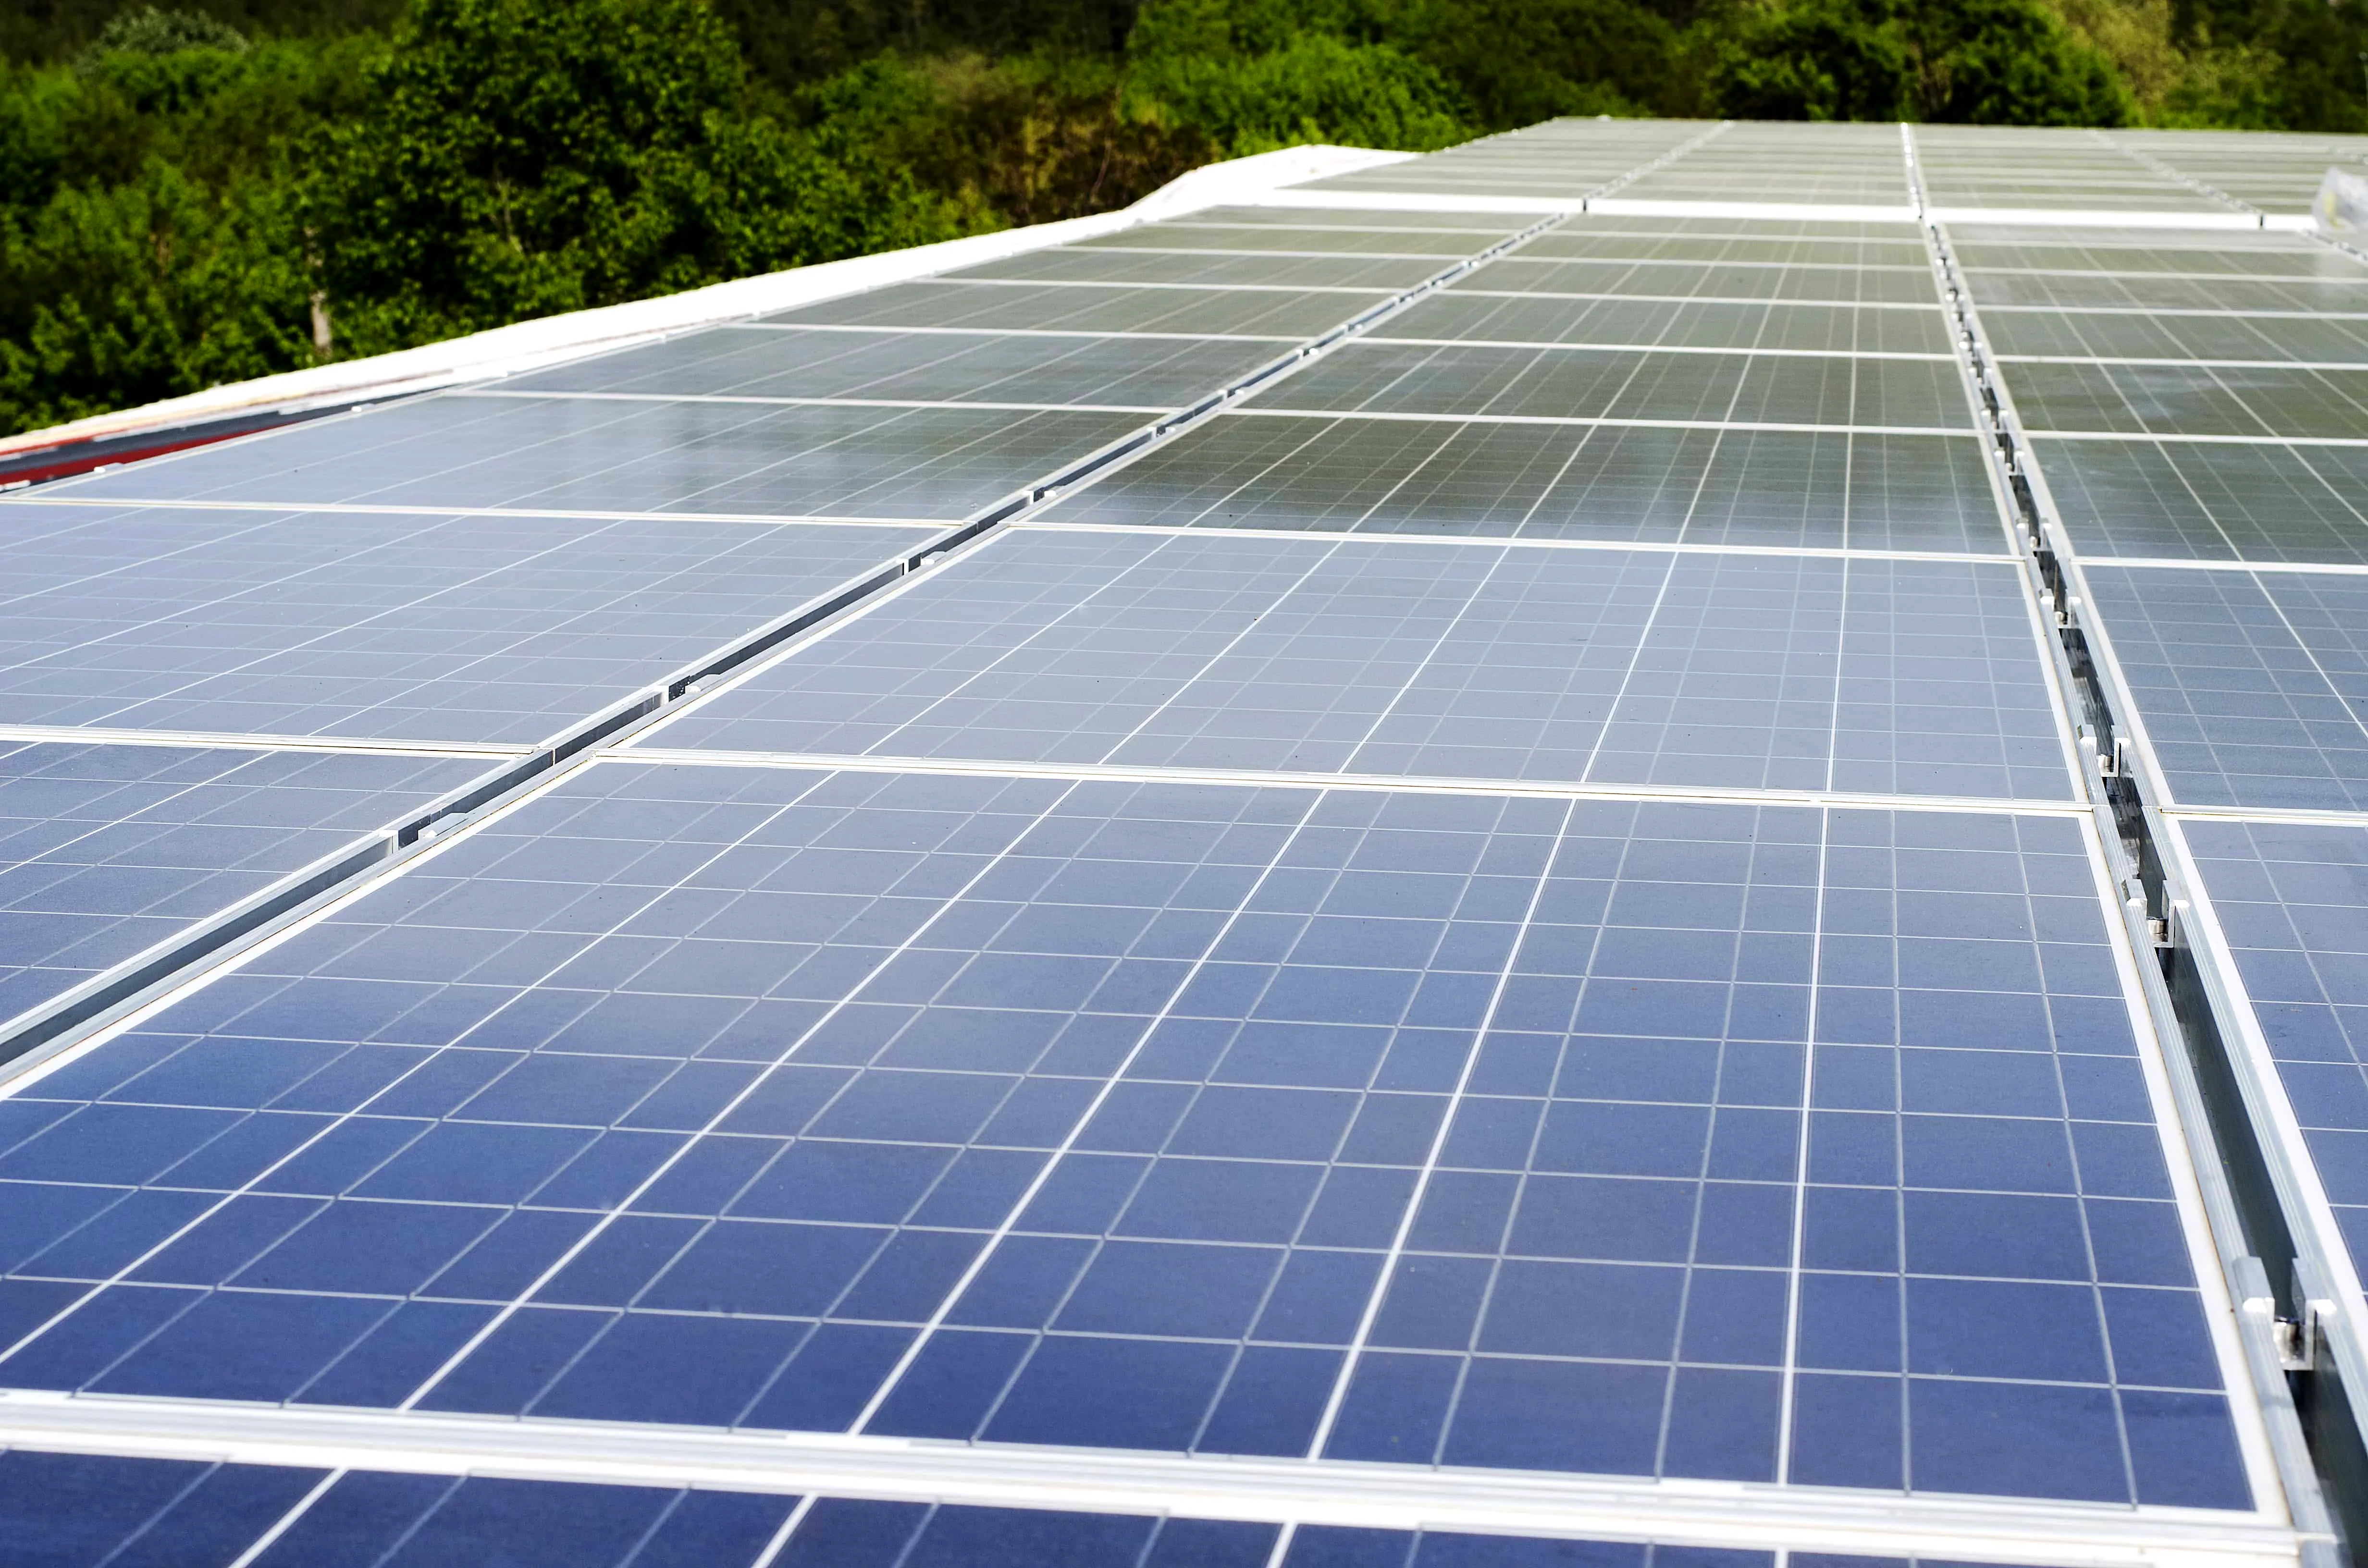
This is because the silicon purity of these panels is naturally less than the monocrystalline panels. Moreover, these can't tolerate heat well, making them a bad alternative for areas with high temperatures.
3. Amorphous Silicon
The Amorphous Silicon solar cell is a thin-film solar cell that's perhaps the best developed among other alternatives. Perfect for watches and pocket calculators, these solar panels are best used for applications that run on low power.
But if you manage to stack one on top of the other, you can also use the same for high power usage. It is said that Amorphous silicon solar panels are more efficient than either Monocrystalline or even Polycrystalline panels.
However, these require twice as much space for the same output that you can get from the Monocrystalline panels. At the same time, even though space is an issue, in terms of flexibility and temperature tolerance, these are any day better.
4. Cadmium Telluride
The Cadmium telluride solar cells are blessed with similar benefits to the Polycrystalline solar panels from the environment. These Photovoltaic cells are based completely on the cadmium Telluride.
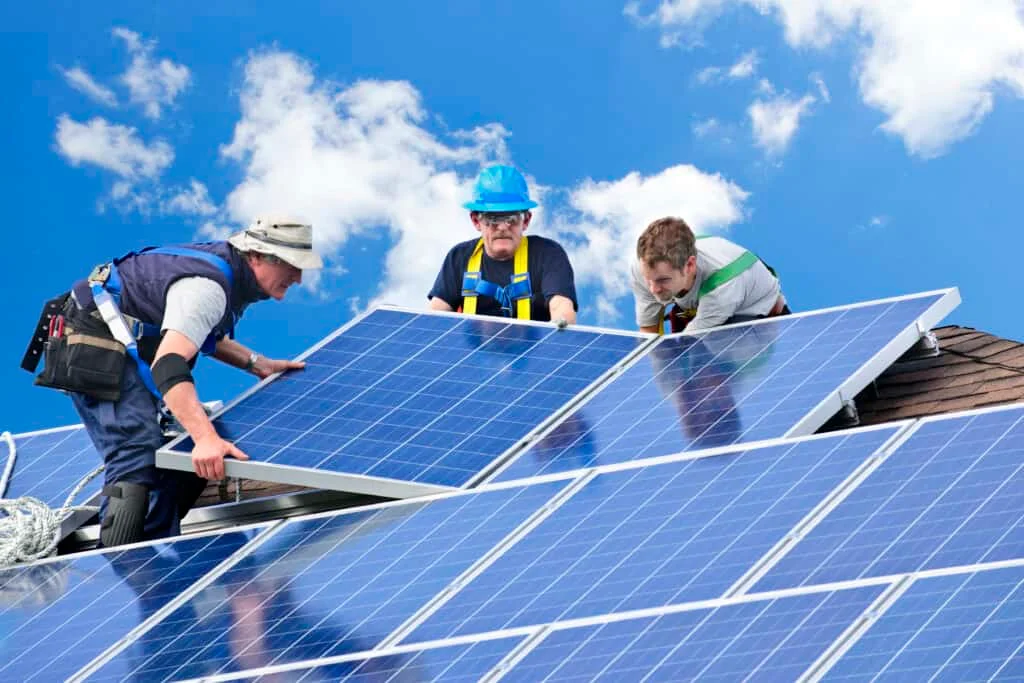
Installing Solar Panels: A Step by Step Guide
When thinking about installing solar panels, there are many things that need to be kept in mind. For example, the positioning of the solar panel, whether it should be placed vertically or horizontally on the roof or whether you should simply place it on the slope of the roof, impacts the installation of the panel.
There are some nitty-gritty things that you need complete and comprehensive knowledge of. So let's follow a step by step direction when you go on to install your solar panels:
Pre-Installation
You need to follow certain steps to start installing the Solar PV cells. This stage is the Pre Installation Stage.
Step 1: Site Survey With an Engineer
Once you have decided on the site where you are going to install the Solar PV Cells, call the solar installation company for your home. Sign a contract with the company.
Now call the company's engineer to decide on the various aspects of the installation. But, first, get your electrical system. See that the system design you have planned goes hand in hand with the existing electrical system.
This will be followed by a roof installation. After ensuring that your roof is sound, the Engineer will propose a mounting system for a flat roof.
Step 2: Sweating To Get the Permits Done
Now you will have to initiate the process of seeking permission from the concerned authorities. Do I need a permit to install solar panels? Yes sir! You need to get all the right permits and documentation to ensure the legality of your solar panel installation. This will take quite some headache on your part.
Let me give you one good news… your solar company handles most of the burden regarding paperwork and permits.
They bear some of your burdens to facilitate the smooth initiation of the installation process. To help you get the right one, check our guide on how to choose a solar installer.
Installation
Now let's come to the practical aspect of the overall Installation guidelines.
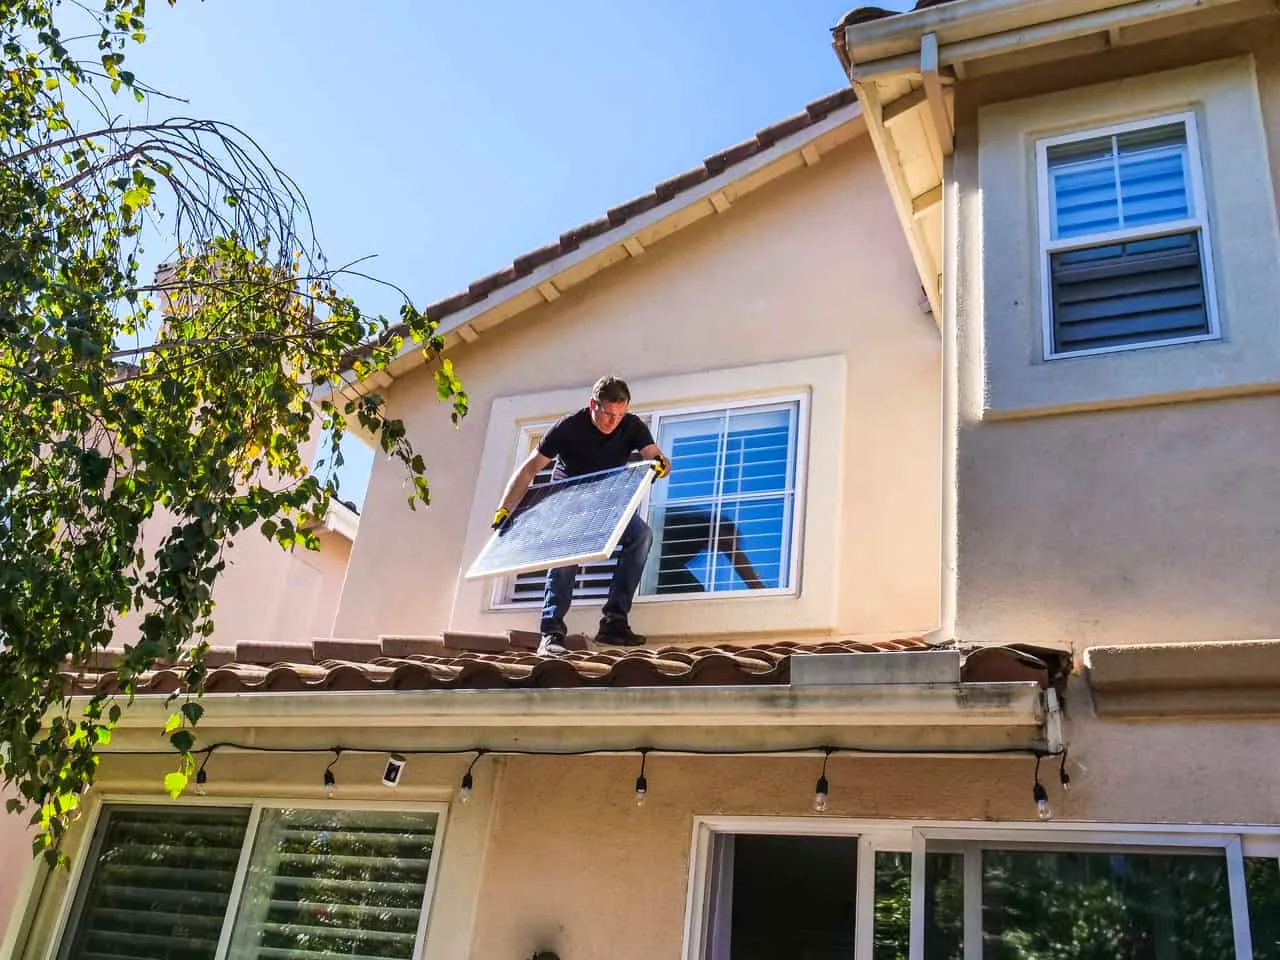
Step 1: Installation of the Mount
The solar panel mounting brackets need to be installed first. This acts as a foundation to provide support and stability to your PV Cells. The most suitable direction to place your solar panels in the NorthEastern Hemisphere is in the southern direction.
There is a lot of sunlight. And the direction for the country in the southern hemisphere is in the north. The angle or tilt of fixing the mounting framework needs to be at an angle from 18 to 36 degrees.
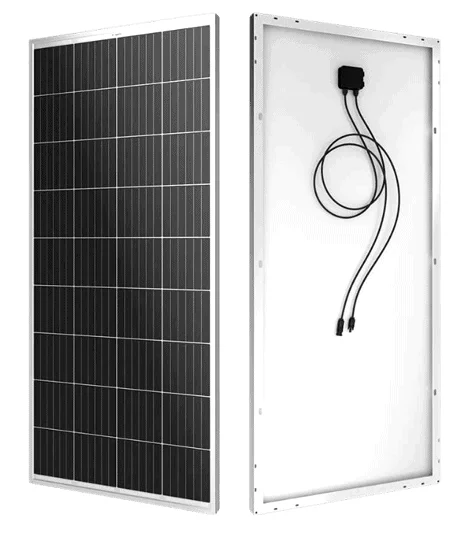
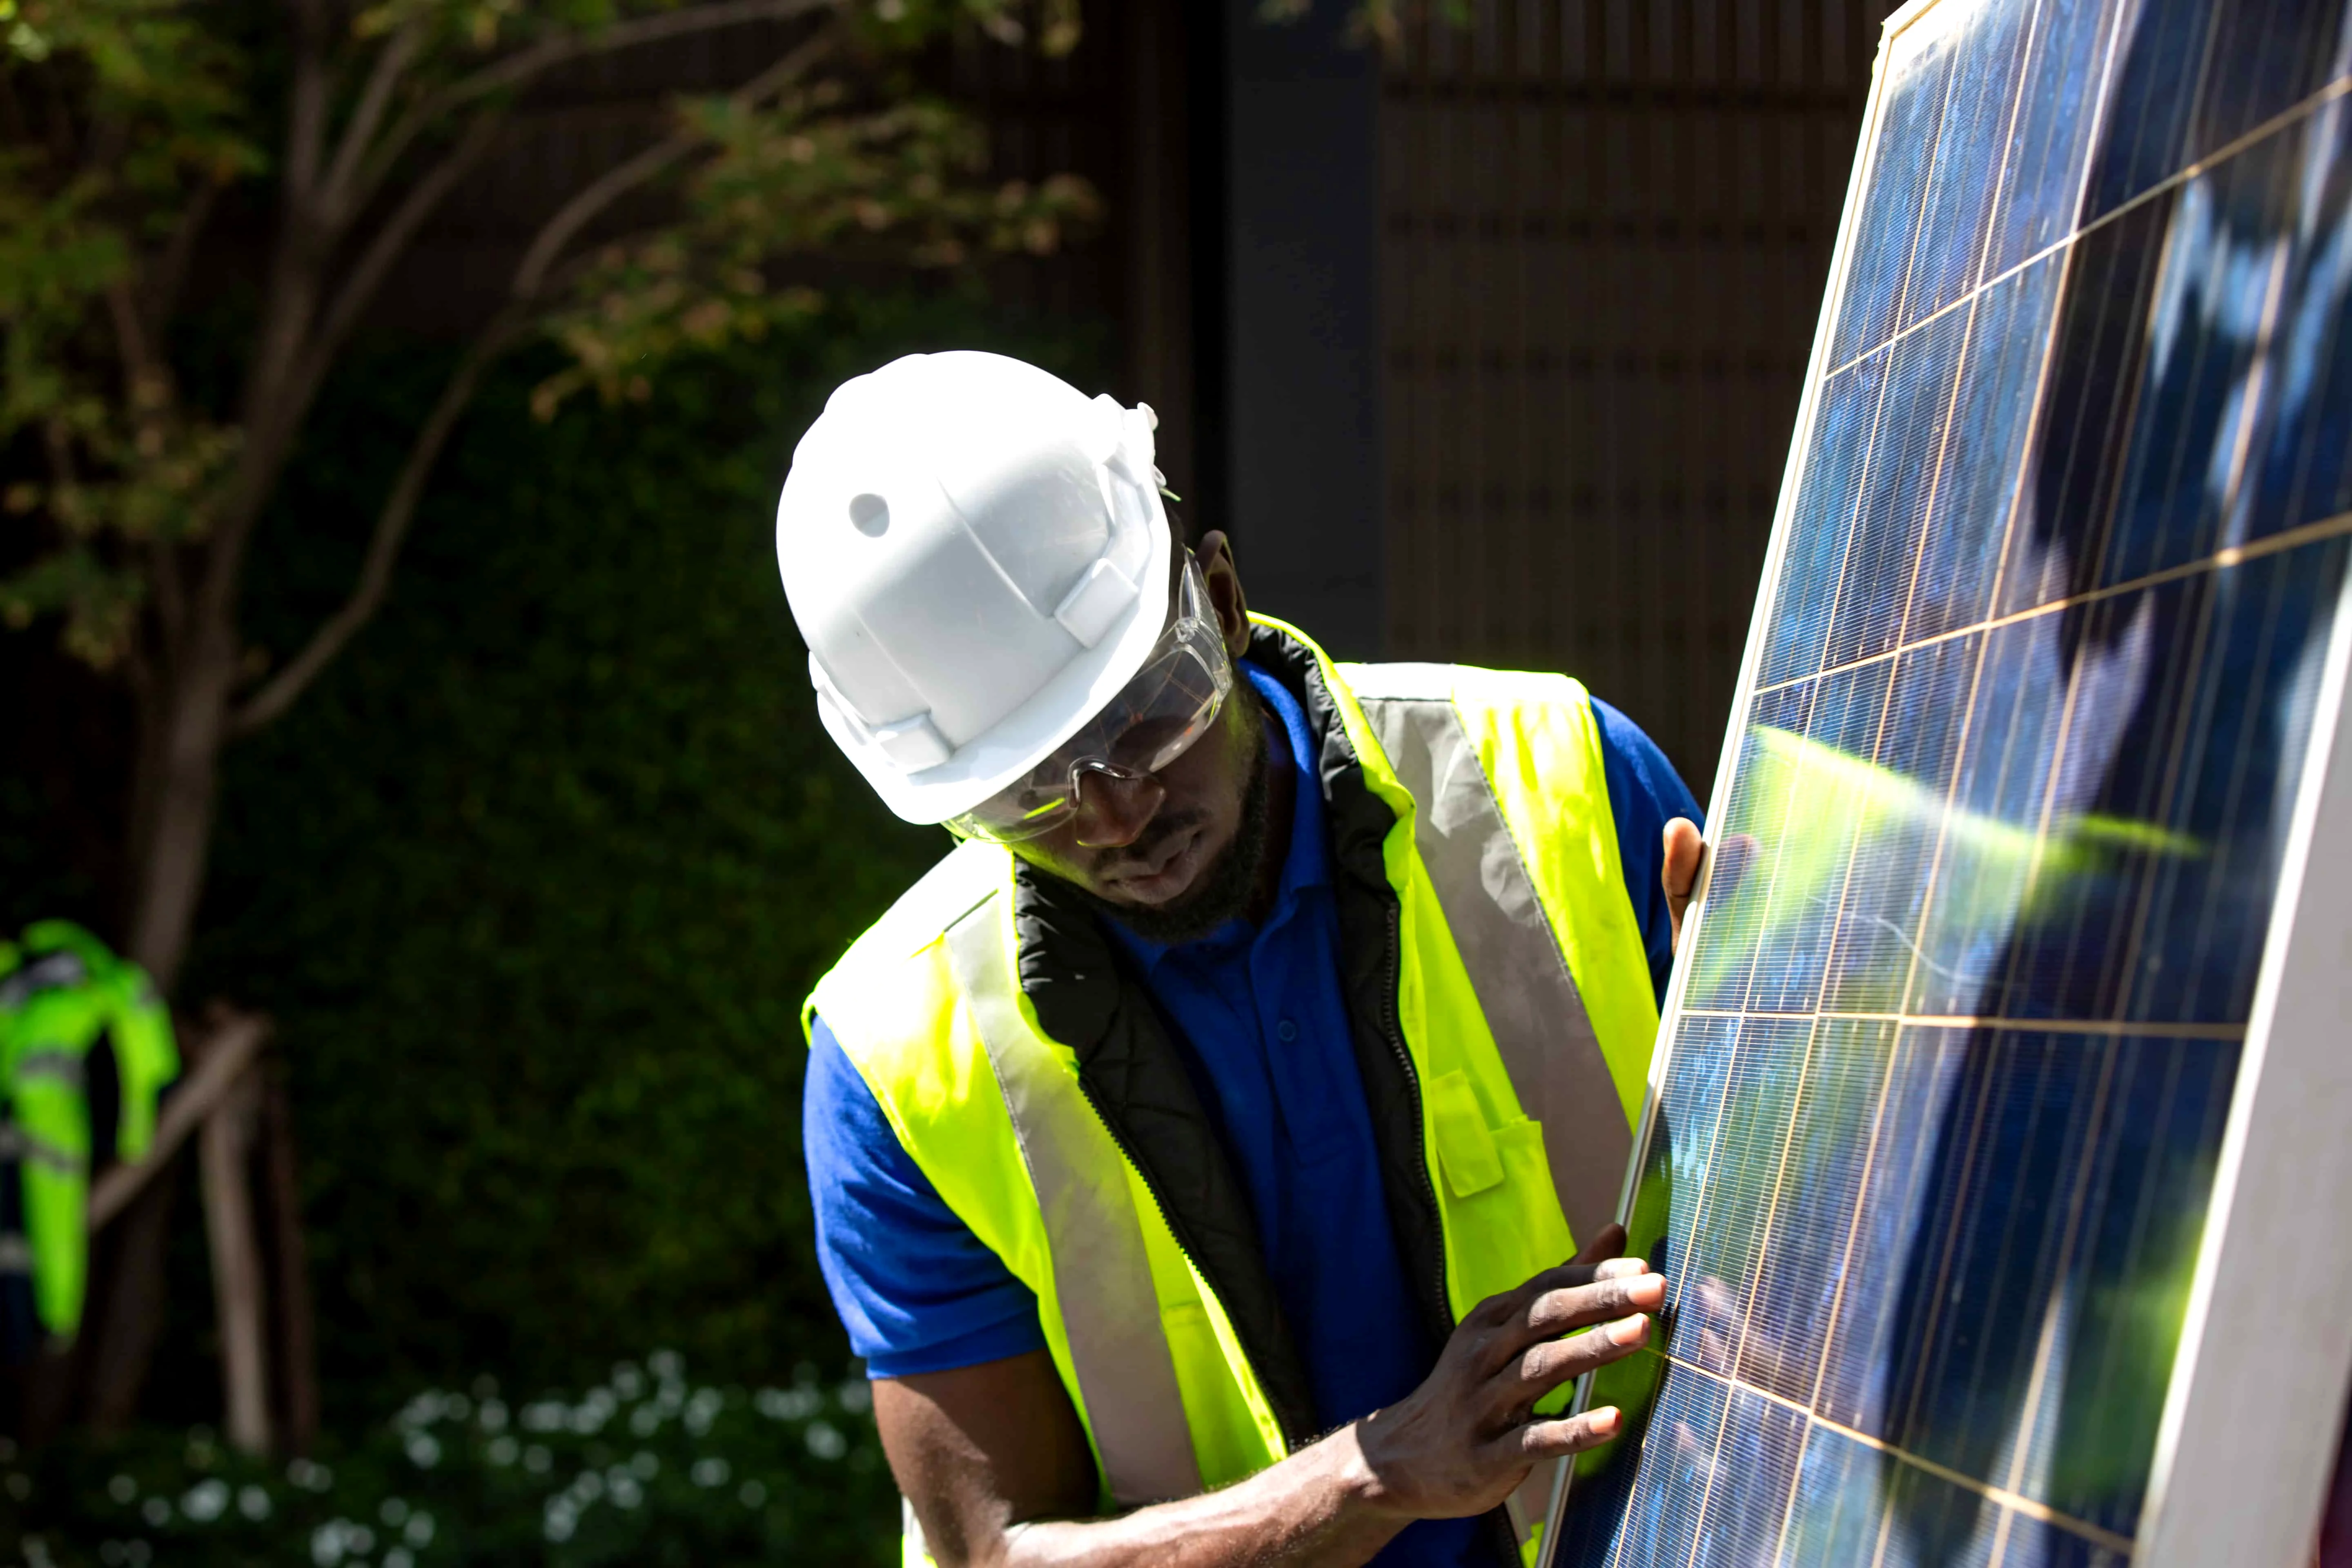
Step 2: Fixing the Solar Panels on the Mounted Structure
You will have to fix your Solar Panels on the mounting structure and use nuts and bolts. Ensure that you fix the Solar Panels in the right place and fix them properly to become durable and last long.
Step 3: Installation of the Electrical Wiring
Now the most important aspect is electric wiring. During the cabling, you need to use connectors like MC4. MC4s may be used with any type of solar panel. You can use both Series Connection as well as Parallel Connection as a sequence of electric connections to be made between each panel.
Step 4: Connect the Solar Inverter to the System
You have to make sure you connect the entire system to the solar Inverter. Do not make things extremely complex while initiating the connection. The solar's positive wire is to be linked with the Inverter's positive terminals. The same goes with the negative wire.
Step 5:Connect the Solar Inverter to the Battery
Now, to generate the power, you must connect the Inverter with the solar battery. Here, you connect the battery's positive terminal to the Inverter's positive terminal. Then, in the same way, you join the battery's negative terminal with the negative end of the Inverter.
If you are not making the connections properly, it might cause issues with the link. So take the help of some expert without doing it all alone.
Step 6: Linking the Solar Inverter to the Power Grid
Now that your Inverter connections are ready connect them to the grid. Use a standard plug while connecting the main power to the switchboard. The electric board that is used to deliver electricity is to be linked to an output wire.
Step 7: Your Connections Are Ready! Turn On Your Inverter
You have completed your cabling. You have completed your connections. Everything is set. Turn on the switch. Your Inverter will include the digital display. The displays show the generation and consumption of Solar energy.
And finally, all your hard work, hassle, and headaches win you your much-awaited and anticipated Free Renewable Green Energy !!
Final Words
We hope you will be benefited from the information that we produce. You need to be extremely clear with the exact plan at hand. While you buy the systems, make sure to buy them from reliable manufacturers. Quality provides durability.
But the battle is won on paper. So follow this information, and you will indeed be able to practically implement your Solar Connection! So read the guidelines properly whenever you plan to install your solar system.
FAQ
Q1: Can I Install Solar Panels All By Myself?
Q2: Where Can I Purchase Solar System Equipment?
Q3:Which Solar Panel Is Best: Monocrystalline Or Polycrystalline?
About This Article
The world is going solar…why will you be left behind? Solar is the imminent reality as we are all searching for some alternative form of energy to find res
Have Questions? Contact Us