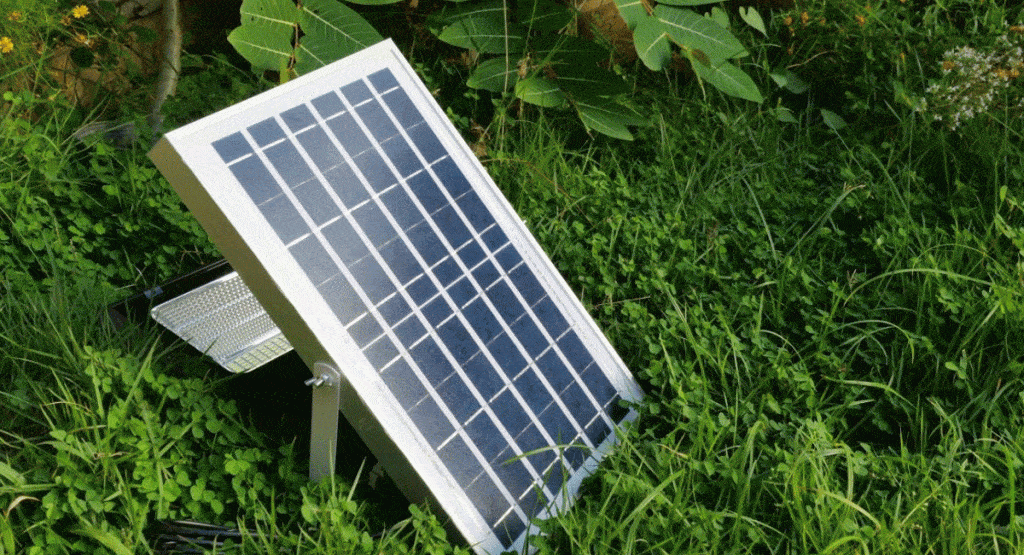
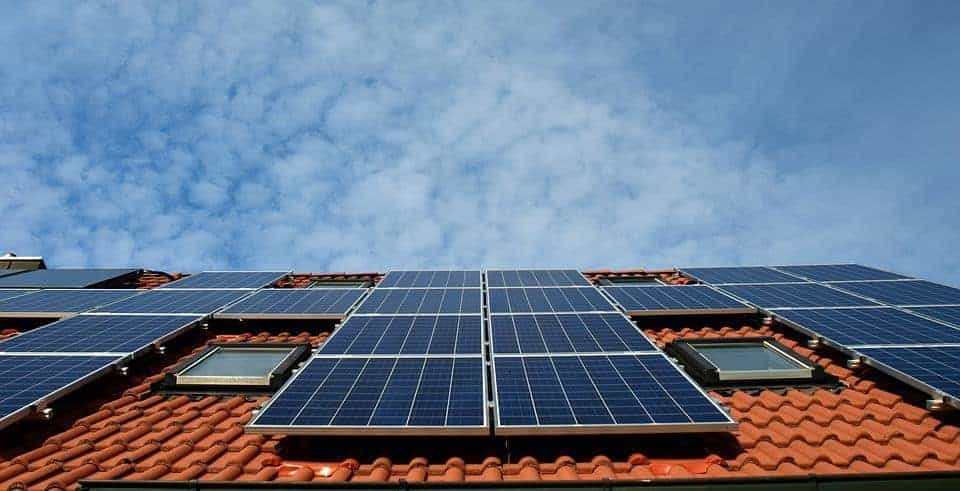
A portable solar panel stand helps make your solar panel kit more efficient by reducing wind load and positioning your portable solar panels at the optimal angle. This process then converts raw solar energy into electricity.
Portable solar panel stands are optimized for temporary or permanent installation. This article will look at this essential part of your portable power station and teach you everything you need to know.
What Is an Adjustable Solar Panel Stand?
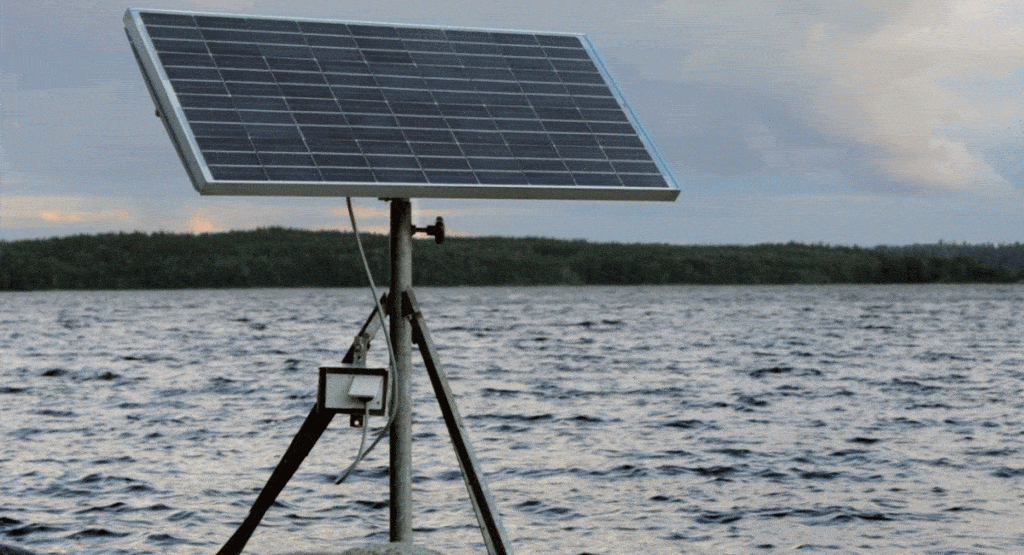
A portable solar panel stand is a mounting structure designed to give your home or RV solar panel the correct tilt angle. The solar panel’s polycrystalline or monocrystalline cells need to process and convert sun rays into energy, which is why it’s important to have the perfect tilt angle.
These stands are often referred to as solar structure stands, solar panel stand legs, or adjustable solar panel tilt mounts.
Just like how you maintain solar panels, positioning is absolutely essential. You can’t afford to pick any random panel stand frame. They can also weatherproof your solar panel by holding it in place against forces like wind or rain.
As such, if your panel stand frame or adjustable solar panel tilt mount gives out, your alternative to generator power sources also goes out the window.
Finding the Right Stand for Portable Solar Panels
You can either purchase the panel stand legs ready-made or construct one yourself.
This choice is vital because tilt angle has a prominent effect on your overall system performance.
Whether you have a 130-watt or 100-watt solar panel, you need the proper mounts for the solar cell components.
Our Top Picks of Adjustable Stands for Portable Solar Panels
Some of the best panel stand frames you can use to achieve an optimal tilt angle include:
- Renogy Adjustable Solar Panel Tilt Mount Brackets: This product is also available in the 200-watt Renogy solar suitcase.
- RICH SOLAR Adjustable Solar Panel Stand: Even though it can be used for permanent installation, this adjustable solar stand is optimized for mobility. You can easily use it to support your boat or RV solar panel.
- ECO-WORTHY 28” Adjustable Solar Panels Stand: This special aluminum solar panel is one of the most durable solar products out there. It effectively ensures that your portable solar panels remain at the optimal tilt angle for as long as you need them.
- BougeRV 28” Adjustable Solar Panels Stand: This solar stand is popular with many home and RV solar panel owners, thanks to its intuitive adjustable installation process. It also comes with the basic tools and equipment needed for assembly.
However, you may want to make your own adjustable kickstand for any number of reasons. You can even make adjustable solar panel mount brackets that can accommodate additional panels at a very affordable price.
How To Make a Portable Solar Panel Stand
To do this right, you need to buy specific materials and have access to power tools.
This guide will detail how to make an adjustable solar panel frame stand for standard 100-watt rigid panels. It’ll also contain tips you can follow to create panel stand legs for larger solar panel systems.
Materials and Tools
- Paracord (or two tent stakes)
- 3/4″ self-drilling screws (x2)
- 3/4″ PVC Tee joints (x4) 3/4″
- PVC elbow joints (x2)
- 1/2″ PVC for the crossbar
- 3/4″ PVC for the support beam, base, and adjustable solar panel stand legs
The only tools you’ll need are your power drill, saw, tape measure, and marker.
Step 1 – Familiarize Yourself With the Concept of Adjustable Solar System Stand Legs
For your DIY solar panel kit stand to work, it needs to have two upper leg sections, two lower leg sections, a support beam, and a crossbar. All of these integrated kickstand parts will be held together by PVC joints.
The exact dimensions of the portable power station stand will depend on the type of panel you’re trying to support. This leads us to the next step.
Step 2 – Measure the Solar Panel Frame Gap
For this, you’ll need to turn the 100-watt solar panel on its back and measure the space between the frame’s rim and the back of the panel.
Step 3 – Measure All the Dimensions of the Stand
The three areas you’ll need to focus on are stand length, stand height, and crossbar length. This will determine the exact length of PVC joints to be used.
For our solar panel, this amounted to 35″ in crossbar length, 22.25″ inches in stand height, and a 21″ stand width.
Step 4 – Calculate the Length of the PVC To Be Used
The two places you’ll be focusing on here are the upper and lower leg sections and the base and support beams.
To calculate beam length, all you need to do is subtract the added length of the PVC joints from the stand width.
Using our solar panel as an example, our calculations came out to:
1.25″ x 2 = 2.5″
So, 21″ – 2.5″ = 18.5″
For the upper and lower leg sections, we follow the same routine.
1.25″ x 3 (since we’ll be using three joints here) = 3.75″
22. 5″ – 3.75″ = 18.5″
To make the upper and lower sections the same length, you divide the value by 2. This gives us 9.25″.
Step 5 – Cut the PVC Accordingly
Use your tape to measure the dimensions and cut with a saw. After cutting the appropriate sections, use your drill to make a hole in the base beam and connect the PVC joints.
Step 6 – Setup Your Panel
Once you screw the crossbar to your solar panel frame, you’re done!
Be sure to place a towel under your solar panels to prevent the solar cells from being damaged by the drilling pressure.
Conclusion
A quality portable solar panel stand is key to the smooth operation of solar power generators. After reading this article, you’ll hopefully have a better understanding of how to find or make the best solar panel stand.
You can even make your solar panel system more energy-efficient. Simply complement this with the best portable solar blankets and the best portable solar panels for camping, and you’ll be ready to hit the road or go on camping in no time!


