If you’re interested in solar power, you might be wondering if you can build your own solar panel from scratch. The short answer is yes, you can!
However, it’s important to have the right information and experience before you start, as well as a clear understanding of the process. In this article, we will tackle a few ways to get started, the materials you need, understanding the basic terms, a step-by-step guide, and bonus tips to avoid failure and hazards.
Here Are a Few Ways To Get Started:
1. Do your research. It’s important to understand the basics of solar power and how solar panels work before you start trying to build your own. You can find a lot of information online, or you can check out books from your local library at no cost.
2. Find some instructions. Once you have a good understanding of the basics, the next thing would be to start looking for instructions on how to build a solar panel. You will also find a step-by-step guide in this article. Though there are a few different ways to do this, the easiest way is to find a kit that includes everything you need.
3. Ask questions. If you’re not sure about the process, don’t be afraid to ask questions. There are plenty of people who are happy to help you out, whether it’s online or in person.
4. Get started. Once you have all the information and materials you need, it’s time to get started!
List of Materials Needed:
Most of these materials are available online, on Amazon or eBay
- Solar Cells
- Shatterproof Glass or plexiglass
- Silicone Sealant
- Wirings( Solar Bus Wire, Solar Tabbing Wire, and others)
- Flux Pen
- Soldering Iron
- Non-conductive material (wood or plywood, glass, or plastic)
- Accessories to complete your setup ( battery, charge controller, and inverter)
Understanding Each Component:
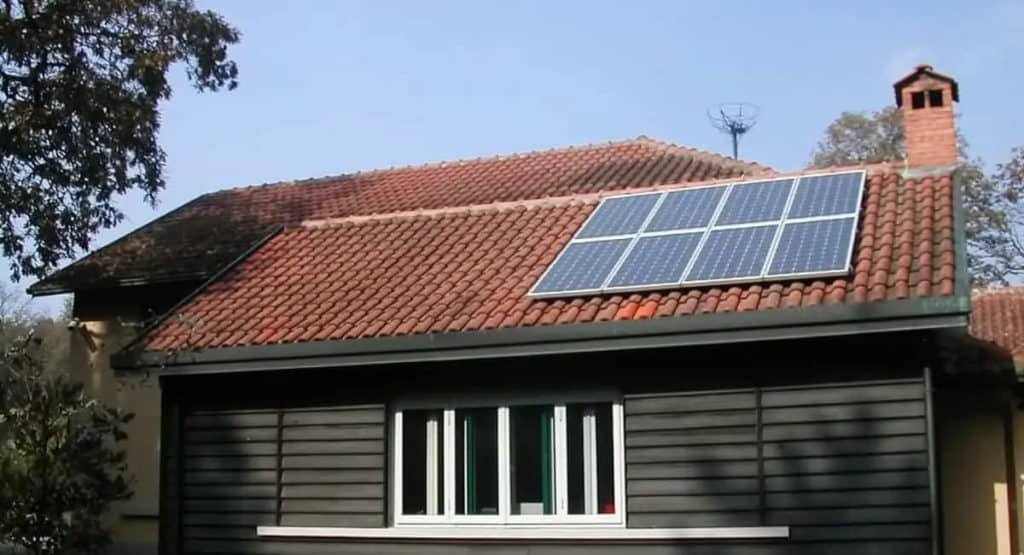
Solar Panel
Solar cell panel, solar electric panel, photo-voltaic (PV) module , or solar panel may sound different from each other, but they actually mean the same. It is an assembly of pv cells or solar cells mounted in a frame for installation.

Solar panels use sunlight as a source of energy to generate direct current electricity. A set of PV modules is called a PV panel, and a system of PV panels will then form an array. Arrays of a photovoltaic system supply solar electricity to electrical equipment.
Batteries
There are many different types and sizes of batteries available, and the type and size of battery you need will depend on the setup, as well as the amount of power you need to generate.
Inverters
This device converts direct current (DC) from a solar panel into alternating current (AC). This is important because AC is the kind of electricity that powers homes and businesses.
There are different types of inverters, and the one you need depends on the type of solar panel you have and the amount of power you want to generate. You need to make sure the inverter is rated for the amount of power you want to generate.
Charge Controller
It is a device that regulates the flow of electricity from a solar panel to a battery. It ensures that the battery is not overcharged, which can damage it, and that the electricity is used efficiently.
These components fall into various categories and are usually manufactured and supplied by different manufacturers and companies. Though a company can offer all of these, as they claim to be the one-stop shop that can answer all your solar needs.
Step-by-Step Guide on How To Make Solar Panel
Step 1: Create a Backing or Surface for Your Panel To Rest On
To prepare the backing for your solar panel, you will need to drill holes in it so that the wires for each cell can pass through. This way, the cells will be evenly distributed and the panel will be able to function properly.
Step 2: Connect Your Solar Cells Together by Wiring
You will need to have some experience with electrical work in order to do this. Attach wire to the solar cells using a soldering iron and then link each of the cells together. Use a flux pen to prevent the solder from forming beads and make it flow evenly onto the parts you are soldering.
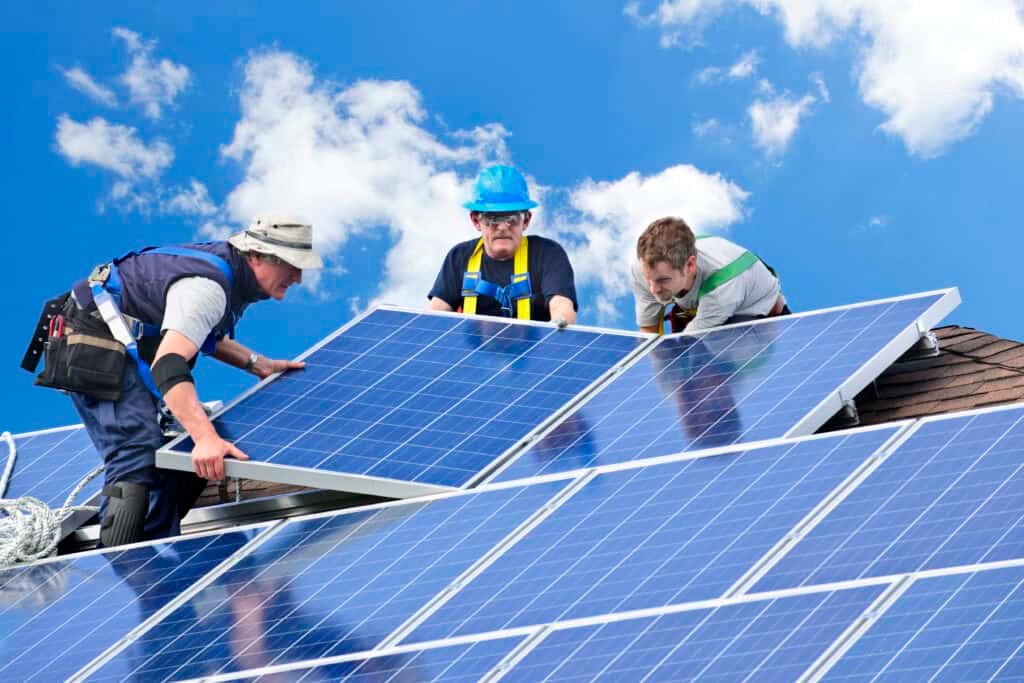
Step 3: Fix the Solar Cells to the Backing
Clean the surface of the backing material with alcohol to remove any dirt or debris. Add protective glass over your solar cells to keep them safe.
Run a continuous bead of silicon around the perimeter of the backing board. Slowly mount the glass onto the backing board over the cells. The silicon should form a continuous seal around the edges of the panel. This will protect the cells from elements like water, dust, and wind.
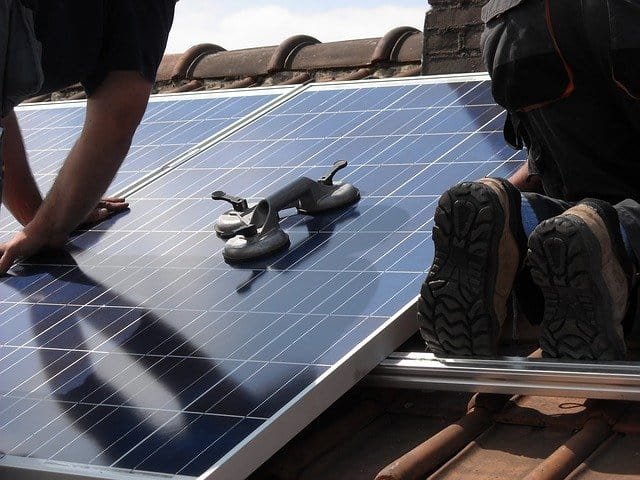
Now you can set it up outdoor or on the roof. Make sure it is mounted on the front of the roof, with the top end tilted up to catch maximum light and heat from the sun to have efficient power later.
Also, take note to get good mounting environment that allows good airflow in place or on the sides to avoid overheating caused by high temperatures not properly dissipated. Details like this are something that should not be forgotten or bypassed to avoid failure.
Step 4: Complete Your Setup
The solar panel can be connected to a solar charge controller to charge batteries, or it can be connected directly to a DC load. On the other hand, if you are powering an AC load, then you will need to connect a power inverter. By the way, you can make install or use of a junction box for these pieces of strings and wirings for added safety.
Once done, do not forget to check on the side of the back part of the solar panel and all other parts to make sure it was set up correctly.
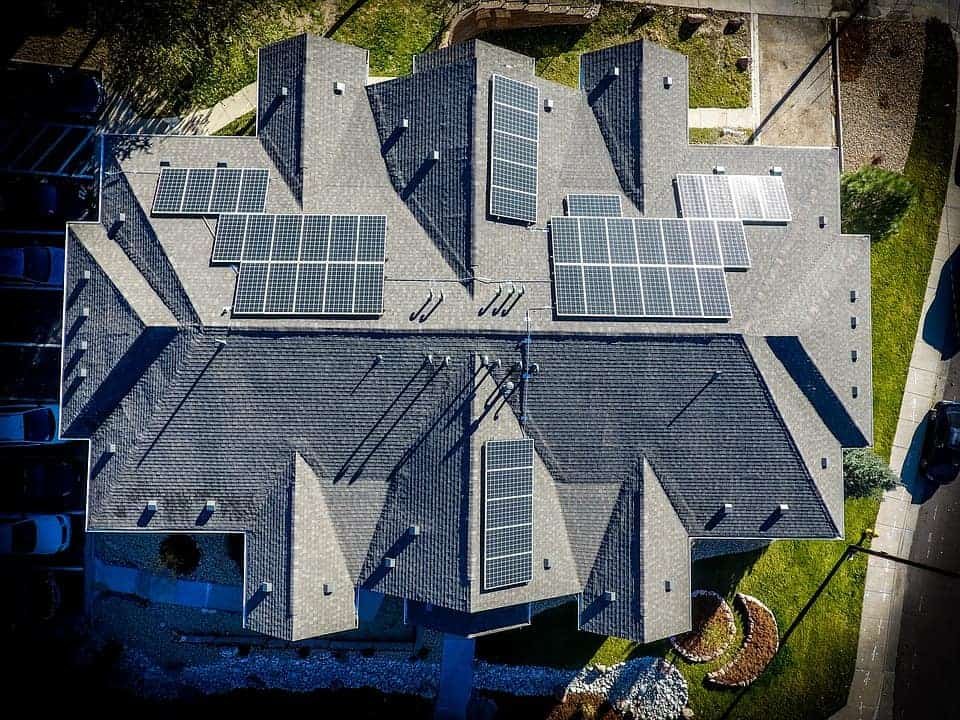
The step-by-step guide ends here, but if you want to build a bigger set-up for your house, check out this useful calculator link from NREL and other DIY videos that are worth watching:
Tips To Avoid Failure and Hazards
When making your own solar panel, it is important to avoid common mistakes that can lead to failure. One example is to try to build the panel without a plan or blueprint. This often leads to panels that are too small or too weak to be effective.
Another mistake is to use inferior materials or to cut corners during the construction process. This can lead to panels that do not last as long or perform as well as they should.
Finally, it is also important to have in mind a realistic expectation of how much power your solar system will produce. Many people overestimate the output of their panels, leading to disappointment when they do not meet their expectations.
By avoiding these mistakes, you can increase the chances of success when making your own solar panel.
Safety Precautions
Building your own solar panel can be rewarding and save you money and cut electric utility, but it’s important to take some safety precautions before you get on this piece of diy project.
First, always wear gloves and eye protection when working with solar cells, as they can be sharp.
Second, be careful when soldering, as you might get burnt and the chemicals from fumes can be dangerous.
Third, use caution when working with electricity, as improper wiring can be a fire hazard.
Finally, take care when handling the glass panel, as it can break and cause injuries. By following these tips, you can avoid hazards and enjoy the benefits of solar energy freely from the sun while.
Final Thoughts
Now that you know how to build a solar panel, and you think this option may be a good idea to generate solar power, or you need a backup if the electrical grid goes down.
Yet at the bottom of this you do not want the hassle, you worry about maintaining the system, and if the price or costs are worth it, you can always look for other options.


