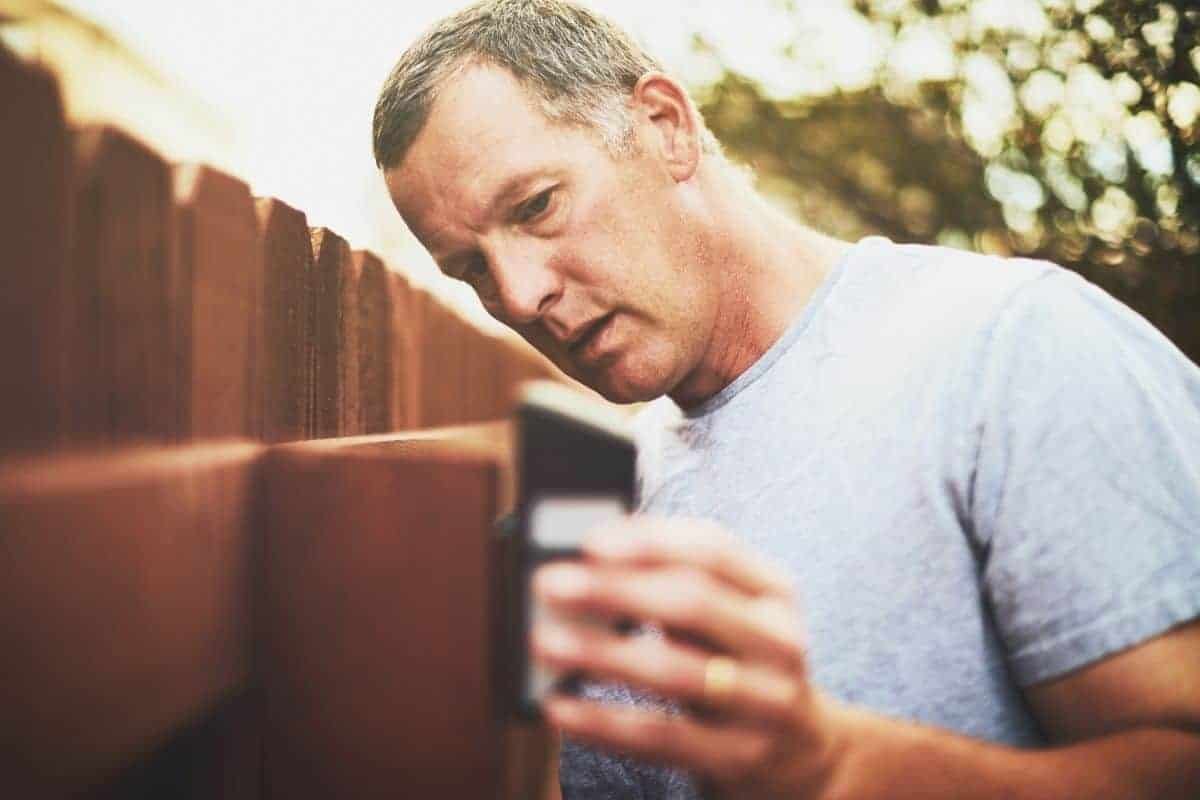
Attaching solar lights to a fence can be tricky. However, with the right knowledge and tools, you should have no problem installing your new lighting fixture on an existing fence.
This guide will give you all of the information that you need on how to attach solar lights to fences!
How To Attach Solar Lights To Fence
The first thing you need to do is get the proper tools for this project. You will need a screwdriver, drill, wire cutters, and a fine-point marker.
Step One: Decide Where You Will Be Attaching The Lights
It’s important to have an idea of where you want your fixture before you get started with the project. Make sure that there’s room for the solar lights on the fence post if it’s in the way.
Step Two: Determine The Height Of Your Fixture
Once you have the right solar fence lights for your yard, you need to determine how high up you want the solar fence lights. Then mark the posts with a fine-point permanent marker to make sure that you don’t drill too low or too high.
You want to make sure that you drill your holes at the correct height so your lights will be secure and won’t fall out of place after installation.
Step Three: Drill Out Holes To Attach The Solar Lights
Once you’ve marked where your lights will go, make sure to use the drill and a screwdriver bit to create holes in all of the spots that need them.
Then you can take a screwdriver and open up each piece in order to make the connection between them. Attach one end of the wire from each strand by screwing them into place with a drill.
Next, cut off any excess wire, making sure to leave about an inch or two.
Step Four: Attach The Solar Lights To Your Fence With Screws
Once you’ve created enough holes for each light fixture on your fence, it’s time to attach them! You will need to get your solar light kit and lay out all of the pieces.
To attach the lights, line up your fence posts and place them on top of each strand where they need to be attached.
Make sure you screw these into place by using a drill. This will make it secure enough for wind gusts or other outside forces.
When you feel like everything is secure and in its place, you can turn on your lights for the first time!
Step Five: Charge The Solar Fence Lights
Once you’ve attached the lights to the fence, you will need to charge them for at least twelve hours before they can be used outside.
The best way to do this is by pushing the solar light a little bit into the ground, that way it’s able to face upwards towards the sun.
In order to guarantee that all of the lights are in place, you need to check each one. Make sure they are working properly before leaving them on overnight or when it gets dark outside by testing each strand to see if they are coming on.
Step Six: Plug Your Lights In At Night To Watch Them Light Up
All that’s left for you to do is wait until nightfall and turn them on. You can also buy solar light kits with built-in timers so they come on automatically at a certain time every day.
Of course, you can always turn on the solar-powered LED lights by unplugging them and plugging them back in whenever you want to see how they look at night.
Things To Consider Before Attaching Your Solar Lights
One of the most important things to consider before installing your lighting is whether or not you have a pre-existing electrical wire nearby. If you do, this will make installation much easier because you can use it as an energy source of light.
To attach solar-powered string lights on a fence without wiring, you’ll need to use large batteries.
What If I Don’t Have Pre-existing Wire?
If you don’t have a pre-existing wire and will be using batteries, then there are various options for where to attach the solar power source. One possibility is attaching it on top of your fence near an electrical outlet.
Another option for attaching the batteries is inside of your fence post if it’s large enough to accommodate them. You can open up a small hole in your fence panel and drop the battery down so that no one can see or notice it.
However, this isn’t an ideal location because there might not be direct sunlight there, which means that the battery won’t be able to recharge.
Is There Another Option?
The third option for attaching solar-powered string lights on a fence without wiring is plugging them into an extension cord and running them through your existing electrical outlets. This way you can keep your batteries hidden, but still, have direct sunlight reach them while they’re plugged into the outlet.
Be sure to use an extension cord that’s long enough to reach the battery location. When attaching solar-powered string lights on a fence without wiring, you’ll need to make sure that they are facing south so that they can receive direct sunlight throughout most of the day.
The Best Way
The best way to do this is by using stakes and putting them in your garden or yard. You can then use cable ties to attach your lights firmly around them.
If you are attaching solar-powered string lights on a fence without wiring, make sure to choose ones with long-lasting batteries in order for them to be worth the time and effort of installation. You can also choose ones that have a timer function so that you don’t need to worry about turning them on and off manually.
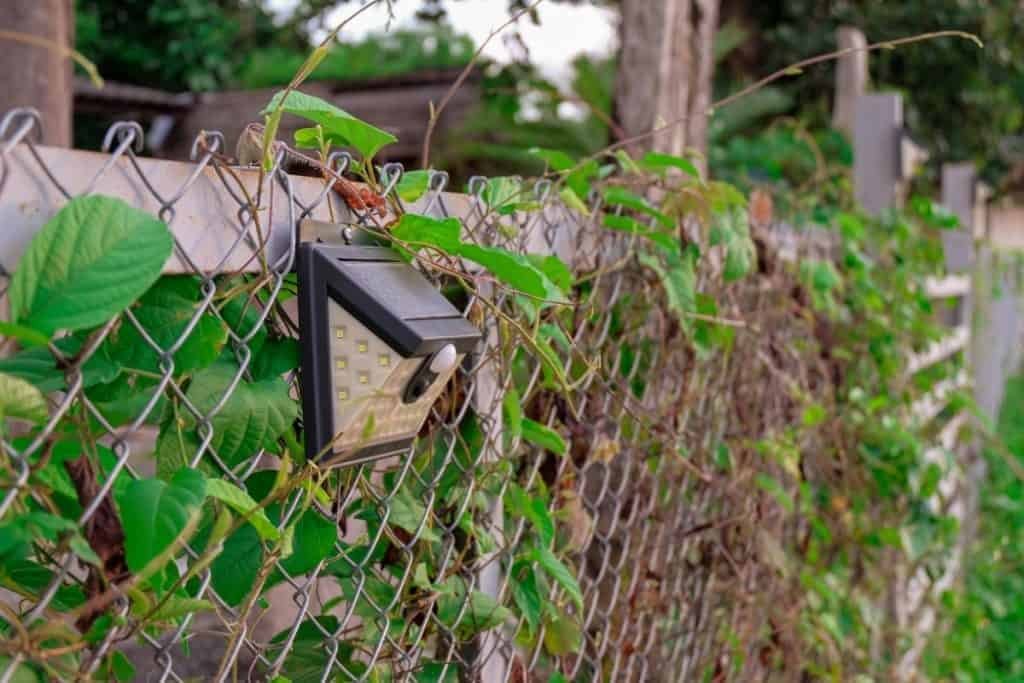
You can attach your solar lights at any height, but make sure they are at least four feet off the ground so that young children or pets won’t knock them down or break them.
When attaching lights to a fence, make sure that the wire is flat against the wood. If you are using adhesive tape, it helps to use painters or masking tape first on the top side of where your solar light strand will be placed (this prevents any paint overspray from getting onto your lights).
Why Use Solar-Powered Lights?
There are several reasons why people all around the world choose to use outdoor solar lighting for their lighting purposes:
- Cost: You can enjoy daylight all day long without having to pay the high electricity bills for artificial lighting.
- Long lasting: Modern solar lights can provide up to 50,000 hours of light. This means that if you use them every day for 12 hours a day they can last more than 20 years.
- Environmentally friendly: Solar lighting doesn’t depend on fossil fuels or other non-renewable energy sources that contribute to air pollution and global warming.
- Easy installation: Very easy to install and there is no need for wiring or professional help.
- Safety: Provides safety at night because they allow you to move through your garden, yard, or street without stumbling.
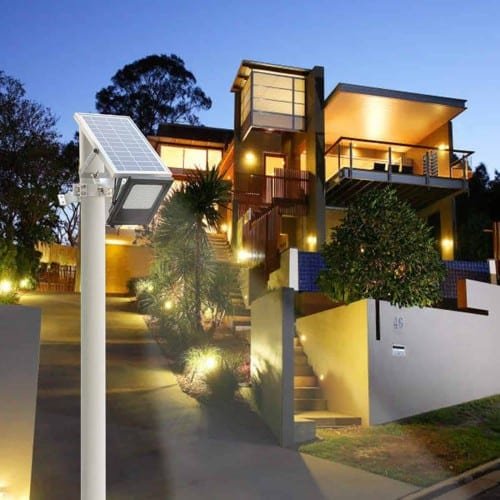
- Versatility: Are extremely versatile and can be used on a variety of surfaces including but not limited to: decks, trees, fences, tents, and more.
What Are The Factors To Consider When Choosing Solar Lights?
There are many factors to consider when choosing solar lights. The first thing you should look at is the cost of a model, as well as any additional costs such as installation and maintenance fees.
Of course, you also need to think about how much energy it will take from your batteries if they choose an off-grid lighting system. If possible, find a solar light that can be installed in an area where it will get plenty of sunlight.
If you are going to use the lights for projects such as camping, fishing, or hiking trails, make sure they have enough power and batteries to last throughout your activities. In addition to battery life and installation costs, consider how much energy each lamp consumes.
Some models use more energy than others, so make sure that you read the specifications before you buy. It is also important to think about how often you can expect your batteries to need replacement or recharging.
Conclusion
If you follow these simple steps, attaching solar-powered lights to a fence can be an enjoyable and quick task. It doesn’t matter if your goal is to make the yard more inviting for people or pets, as long as you take preventative measures against theft by keeping them out of sight from neighbors’ homes, this project should take less than 30 minutes!
We hope that this guide has been helpful in answering some of your questions on how to attach solar lights to fences. And now, you can choose the best solar lights to attach to your fence.
FAQ
How far apart should solar lights be mounted?
For shrubs, they should be mounted about three feet apart. For a fence line or to light up a large area of land, then they should be placed five feet from each other.
When deciding how far lights need to be separated for your solar lighting project, think about the size and location of what you want to be lit up. Taking this into consideration will help you determine how far apart they need to be.
How long do I have to wait for them to charge?
Typically, it takes about eight hours of direct sun exposure for your solar lights to be fully charged. This means that if they are receiving sunlight all day then you will only need a few hours in order for them to be fully charged!
What Is the voltage that they run on?
Solar lights operate at a 12-volt direct current. This means that if you were to connect two strings of solar lights together, then it would cause them both to light up properly.
You can use as many strings as you want in order for your garden or yard project to have the best lighting.
What color do solar lights emit?
Solar garden lights are available in a wide range of colors. The most popular choices include blue, pink, green, and white light. They can also be found in yellow or multi-colored varieties as well.
These different colored lights are perfect for creating an aesthetically pleasing look around your yard or home!
How long do solar garden lights last?
Solar garden lights can last for up to 20 years if they are taken care of properly. However, this all depends on the quality and brand that you buy.
Some brands might only have a warranty for two or three years, while some might offer full coverage for at least ten years. It’s important to know that you can receive quality solar lighting for a reasonable price.
What mistakes do people make when installing solar lights?
One mistake people make is failing to use the right equipment. This leads to less amount of light being produced by the solar panels, which in turn reduces their efficiency and effectiveness.
Another mistake people make when installing them is not providing enough space between each panel. If they’re too close together, this will reduce how efficient they are since there won’t be room for the right amount of sunlight to get in.


